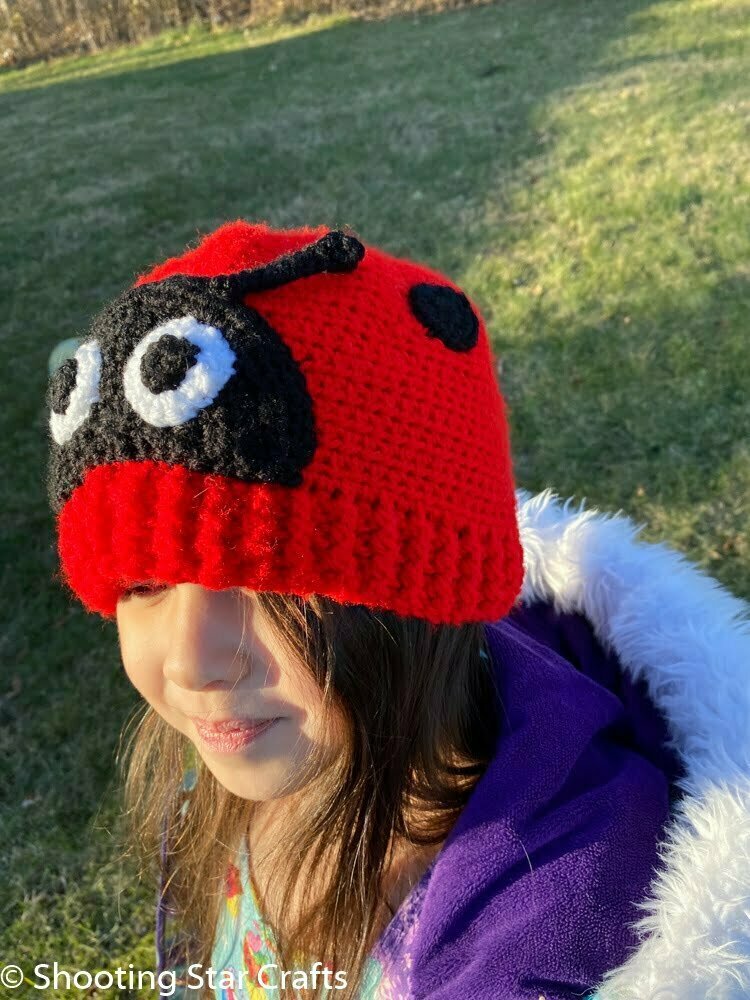
My daughter loves to wear fun hats, and would prefer to have a different hat to wear every day. I decided to take her hat that I made for wear red day at school and turn it into a ladybug hat.

Ladybug Hat
Materials: Red yarn
White yarn
Black yarn
5 mm crochet hook
Yarn needle
Hat
Create a hat using my Easy Hat Pattern, which can be found at https://shootingstarcrafts.com/?p=236.

Face
Start with a Magic circle
Row 1: Ch 2, 6 hdc in circle, ch 2 and turn
Row 2: 2 hdc in each stitch across, (12) ch 2 and turn
Row 3: (2 hdc in first stitch, 1 hdc in next stitch) repeat across (18), ch 2 and turn
Row 4: (2 hdc in first stitch, 1 hdc in next 2 stitches) repeat across (24), ch 2 and turn
Row 5: (2 hdc in first stitch, 1 hdc in next 3 stitches) repeat across (30), ch 2 and turn
Row 6: (2 hdc in first stitch, 1 hdc in next 3 stitches) repeat across (36)
Row 7: sc in each stitch around the entire face
Fasten off leaving a tail for sewing
White Circles (make 2)
Make a magic circle
Round 1: 10 sc in circle, ch 1
Round 2: 2 sc in each stitch around
Fasten off leaving a tail for sewing
Black Circles (make 2)
Make a magic circle
Round 1: 10 sc in circle
Fasten off leaving a tail for sewing
Antenna (make 2)
Chain 12
Row 1: puff stitch into the 3rd chain, sl st in the rest of the chains
Finish off leaving a tail for sewing

Black Spots (make as many as you want)
Make a magic circle
Round 1: 10 sc in circle, ch 1
Round 2: 2 sc in each stitch around
Fasten off leaving a tail for sewing
Assembling the hat
1: Sew the black circles onto the white circles.
2: Sew the white circles to the face.
3: Sew the antenna to the face.
4: Sew the face onto the hat just above the brim.
5: Sew the spots onto the hat in desired pattern.

My daughter was very happy with her new hat. She can’t wait to go back to school so she can show it to all of her friends.